A Guide to Hot Composting on a Balcony
June, 2022 |Hot composting on a balcony is a fantastic, natural way of creating nutritious compost that can be used in your balcony garden. It can transform humble kitchen waste like banana peels and coffee grounds into a rich, crumbly fertilizer. A gardener’s secret weapon.
Not only is it highly nutritious for plants and crops, but it’s also sustainable as it minimizes the waste we send to landfills.
Disclaimer: This post contains affiliate links. When you make a purchase through one of these links I may earn a commission. This comes at no extra cost to you.
Can you hot compost on a balcony?
Yes, it’s definitely possible to create a hot composting system on a balcony. If you don’t like the idea of vermicomposting on your balcony (worm composting!), you can still create nutrient-rich compost in a small bin on an apartment balcony.
In our guide to composting on a balcony, we mention several composting options. Including vermicomposting, tumbler compost bins, and hot composting. But what exactly is hot composting?
What is hot composting?
Instead of relying on worms to break down the organic matter, hot composting relies on microbes. These bacteria occur naturally in decomposing organic matter. But they need certain conditions to thrive.
To create a successful hot compost bin, you need to create an optimum temperature and good moisture levels. This will speed up the decomposition process, meaning your compost will be ready in a shorter amount of time. Generally, 130 to 160 degrees Fahrenheit (55-70 degrees Celsius) is considered best.
Hot vs Cold composting
The natural decomposition happens with bacteria in cold composting too, but it takes longer when temperatures aren’t as optimal. The main difference between hot and cold composting is of course the temperature.

Gardeners with large gardens often use large compost piles when hot composting. Large piles help to insulate the compost at the center, keeping the temperatures high.
However, you can recreate these conditions by ensuring your hot composting bin is positioned on the sunniest part of your balcony. A hot compost bin on a sunny balcony could make compost in 1-3 months.
How to hot compost on a balcony
1. Choose a compost bin.
When hot composting, the bigger the bin, the quicker you will achieve higher temperatures for microbes to thrive. There are lots of bins to suit a range of budgets and balcony sizes, but we recommend choosing a larger bin if you can.
Making your own hot compost bin
Instead of buying new, you can even reuse an old plastic bucket or planter. Make sure the container has several holes along the sides and at the bottom to allow air inside. Just avoid using anything metal.


You’ll also need to ensure the container has a lid. Anything can be used, from a tarp to an upturned tray, just ensure it can’t blow off. You might use a brick or elasticated cable to secure it down.
Most balcony compost bins will come with a tray to catch any excess liquid underneath. But if not, add a tray below your bucket or bin. It helps to raise the bin off the floor by using bricks, then placing the tray/dish underneath. If any liquid is collected you can use it to water other balcony plants.
It’s important to place the bin on bricks or wooden planks as it will allow air to circulate around the bin more easily.
2. What can you put in a balcony hot compost bin?
It’s time to start adding ‘ingredients’. To create, crumbly, nutritious compost, you need a balance of ‘green’ and ‘brown’ ingredients.
Green elements add nitrogen to the compost. These could include things like vegetable peelings and plant cuttings. Brown compost elements include wood shavings (untreated), dead leaves, straw/hay, and paper/card items like shredded egg cartons (without labels) or newspapers.

Meat, fish, and dairy are items you should avoid putting into your compost bin to keep smells and pests at bay. Keep to vegetable and fruit waste, dead flowers, etc. For a full breakdown, we’ve created a list of things you can add to a balcony compost bin.
3. Compost turning
One of the most critical parts of hot composting. As you begin to add to your bin, keep mixing and turning the contents every few days to keep the mixture aerated. You can use a fork, hoe, or pole to get right to the bottom of the bin and mix things up. Within a month or two, your bin will begin to fill.
This tumbler compost bin from Amazon makes turning your compost a breeze!
4. Time to wait (and consider a second bin!)
Depending on how much kitchen waste you throw away, you may find that your hot compost bin becomes full quickly. If you have the space you could consider having two hot composting bins on the go. If not, you may be able to take any excess food waste to a community garden compost site.
When your bin is full, leave it covered for several weeks, and stop adding new waste. Continue turning it to keep it aerated, and within a month or so you should have a fantastic, deep brown, crumbly compost to use in your balcony vegetable containers or flower pots.

Hot composting tips
Many people start composting only to be let down by not adding the right ingredients or attracting pests. Follow these expert tips to ensure your hot compost bin works efficiently:
- It’s important to add a mix of the ‘green’ and ‘brown’ elements. Don’t skip this step. Keep a bag of pine shavings on hand if you find you’re adding more green waste than brown.
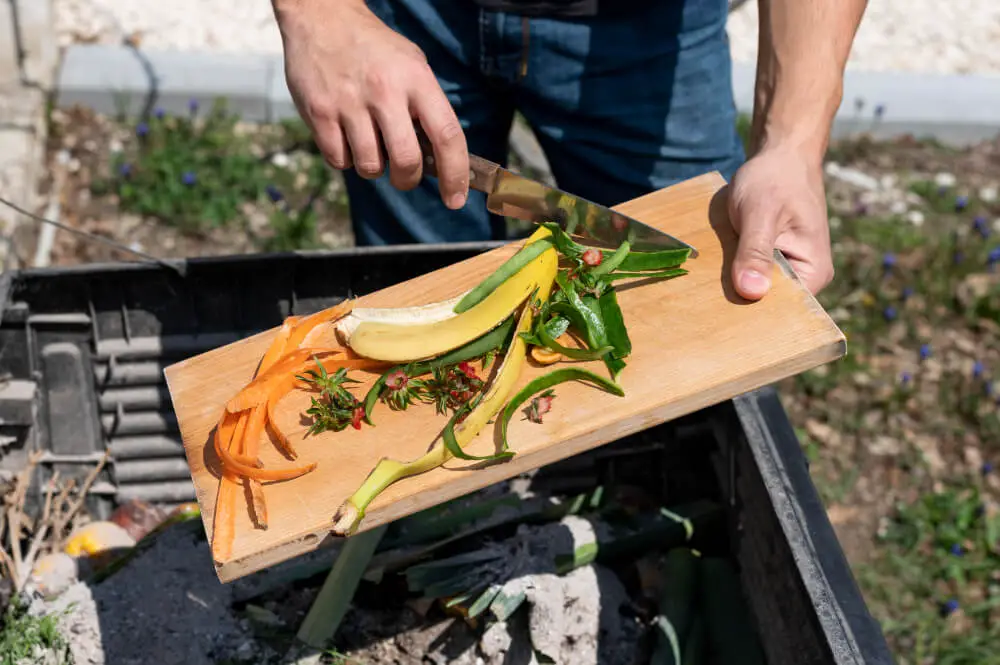
- Things will break down more quickly if they’re smaller, so chop up dead flower stalks and even things like a banana peel to make your bin more efficient.
- If you find that your bin is starting to smell or attract flies, start adding a layer of untreated pine shavings or needles to the top of the bin. Pine has antibacterial properties and strongly scented volatile oils which can help to reduce odors.
- Hot composting will be quicker in the summer as the pile will reach higher temperatures.
- Compost will break down in winter only if you’re adding certain items.
- If the mixture is beginning to look dry, spray the top with water to keep things moist.

Featured Image: Zero waste photo created by freepik – www.freepik.com


