How to Grow and Harvest Chia Seeds in a Small Garden
November, 2022 |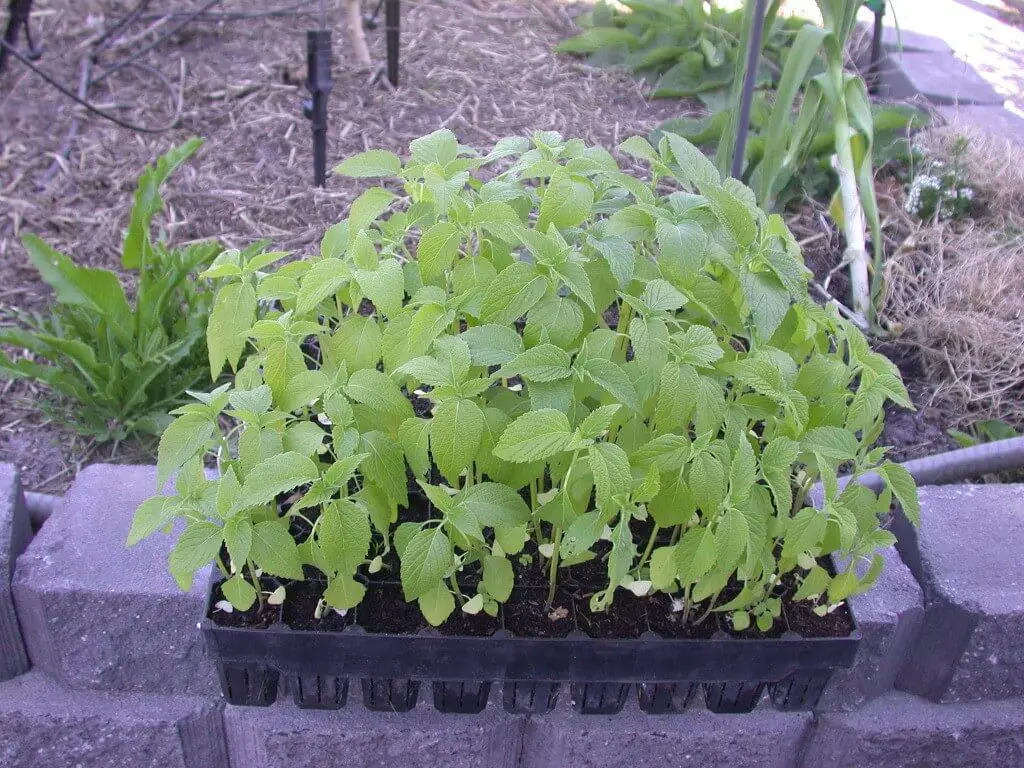
Interested in growing and harvesting your own chia seeds on a balcony or mini garden? Growing grains in a small garden is really fulfilling and a great way to add some additional homegrown nutrition to your diet.
Chia seeds are an amazing ancient grain to grow that’s fiber-rich and also high in protein, micronutrients, and omega-3 fatty acids! They’re also gluten-free, so ideal for vegetarians who are looking to boost their protein intake while avoiding gluten.
Growing chia plants to harvest seeds
In a small garden, growing and harvesting chia seeds is more a labor of love than a way to provide huge amounts of protein that will last all year. But it’s still a really rewarding gardening experience and a great way to supplement your diet with homegrown food.
Below we’ll cover….
- Where to buy chia seeds to grow
- Best growing conditions for chia plants
- Growing chia in outdoor containers
- How to harvest chia seeds
Where to buy chia seeds to grow
Unlike popular vegetables like peas or mini pumpkins, you’re generally not likely to find a packet of chia seeds in a garden or seed shop. Unless it’s a specialist store.
You can however simply buy a bag of chia seeds from any grocery shop (whole foods for example), and grow these!

Growing conditions for chia plants
Chia is generally a very fuss-free plant and it’s really easy to grow them organically. They don’t need fertilizers or any form of pesticides or fungicides as they’re very resistant (compared to amaranth which can be damaged by insects and beetles).
They’re also pretty drought tolerant, so they’re ideal if you live in an area that doesn’t receive much rain in the summer.

It’s important to make sure the soil/growing medium doesn’t become waterlogged. You could even add sand or perlite if you’re growing them in containers to make sure the plants have good soil drainage.
The growing season of chia can be quite long. From sowing to seed harvest, it should take over 140 days, give or take a couple of weeks.
In northern areas, there might not be enough time for the seeds to ripen, so double-check how long your growing season is. Ideally, you should be sowing the seeds in April to harvest in October.
So if there’s still snow around in April, or you expect heavy frosts in September, check out our post for other grains you can grow in a small garden like rye or oats.

Growing chia in outdoor containers
Although chia plants are quite drought-resistant, containers can dry out a lot in summer without watering. So if you’re growing chia in containers outside keep them topped up with water during really dry periods of weather.
Growing chia in containers means that you can easily have them growing in your balcony vegetable garden. Their growth habitat is upright and not too wide or bushy, so you could fit 1-2 plants per square foot container.

How to harvest chia seeds
As the pretty blue flowers fade away, you’ll soon be left with several spires of ripening seed heads.
The tiny seeds will begin to drop from the plant as they ripen, so you’ll need to cut the drying flower heads off the plant before you lose many seeds.
A great harvesting method is to cut the stems as most of the flower heads are drying and then bundle and tie them together and leave them to dry in a cool dark place upside down. Make sure you place a container underneath to catch any seeds that drop. This gives seeds time to finish ripening.
Threshing and winnowing chia seeds
You can then follow the usual grain processing method of threshing. Lay out a cloth or tarp (without holes!) and hit the stem bundle against the ground or even a bucket. This knocks the seeds from the dried husks.
You’ll then be left with a mix of seeds and husks. If you have a sieve or mesh with holes big enough for chia seeds to fit through, use this to sieve out the larger pieces of husk. But some finer pieces will likely still get through.
Next, you’ll need to start winnowing, which essentially uses wind to blow away the dried husks. Pour the mix of seeds and husk into another container on a breezy day and the heavier seeds should fall into the other container while the husks are blown away. You may need to repeat this process a few times.

Compared to quinoa, chia seeds don’t need any soaking or additional processing after harvesting. So they’re a good, simple grain to grow at home.
The flowers are beautiful and also attract pollinators like butterflies too, meaning chia could be a great plant to add if you’re creating a butterfly garden.
If you’ve missed the season to grow chia seeds outdoors, you could try growing chia sprouts indoors instead! Check out our guide to growing chia seeds indoors, to find tips on how to grow and use chia sprouts!
Featured Image by graibeard on Flickr (CC BY-SA 2.0)

Hey there! I'm Hannah from Mini Garden Spaces.
I'm a gardener currently based in Gloucestershire. Balconies, patios or windowsills... no matter how small your garden, you'll find top tips on growing beautiful plants and tasty veg in your mini garden space.
Disclosure
This page may contain affiliate links. In the event of a sale, I will be awarded a small commission (at no extra cost to you).


